Couple of weeks ago I backed a new project Touch Board: Interactivity Everywhere on kickstater. This project excited me so much and I couldn’t wait for the finished product to arrive in March. I started to search for capacitive touch chips and finally landed on MPR121 breakout board on Sparkfun. Ordered them and received it 2 days ago and could not wait anymore and directly jumped into building a drums kit.
To make this work I did some research and everything was available but from different website. In this article I will put everything together in one place. I will go step by step
What do you need ?
1) Raspberry PI loaded with Raspbian OS.
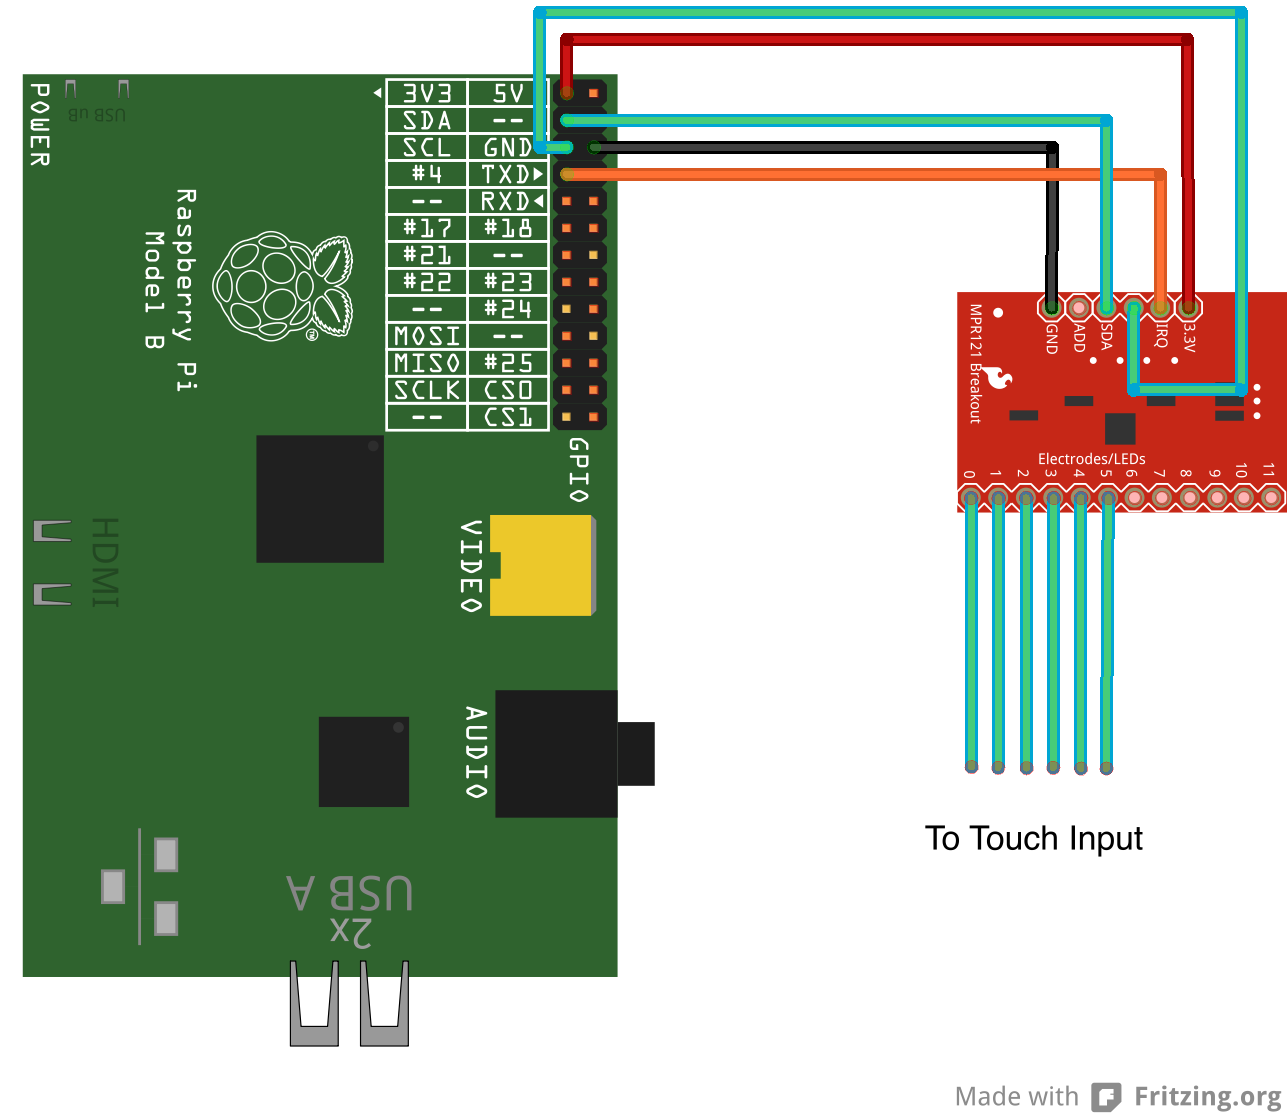
2) MPR121 Capacitive Touch Sensor Breakout Board
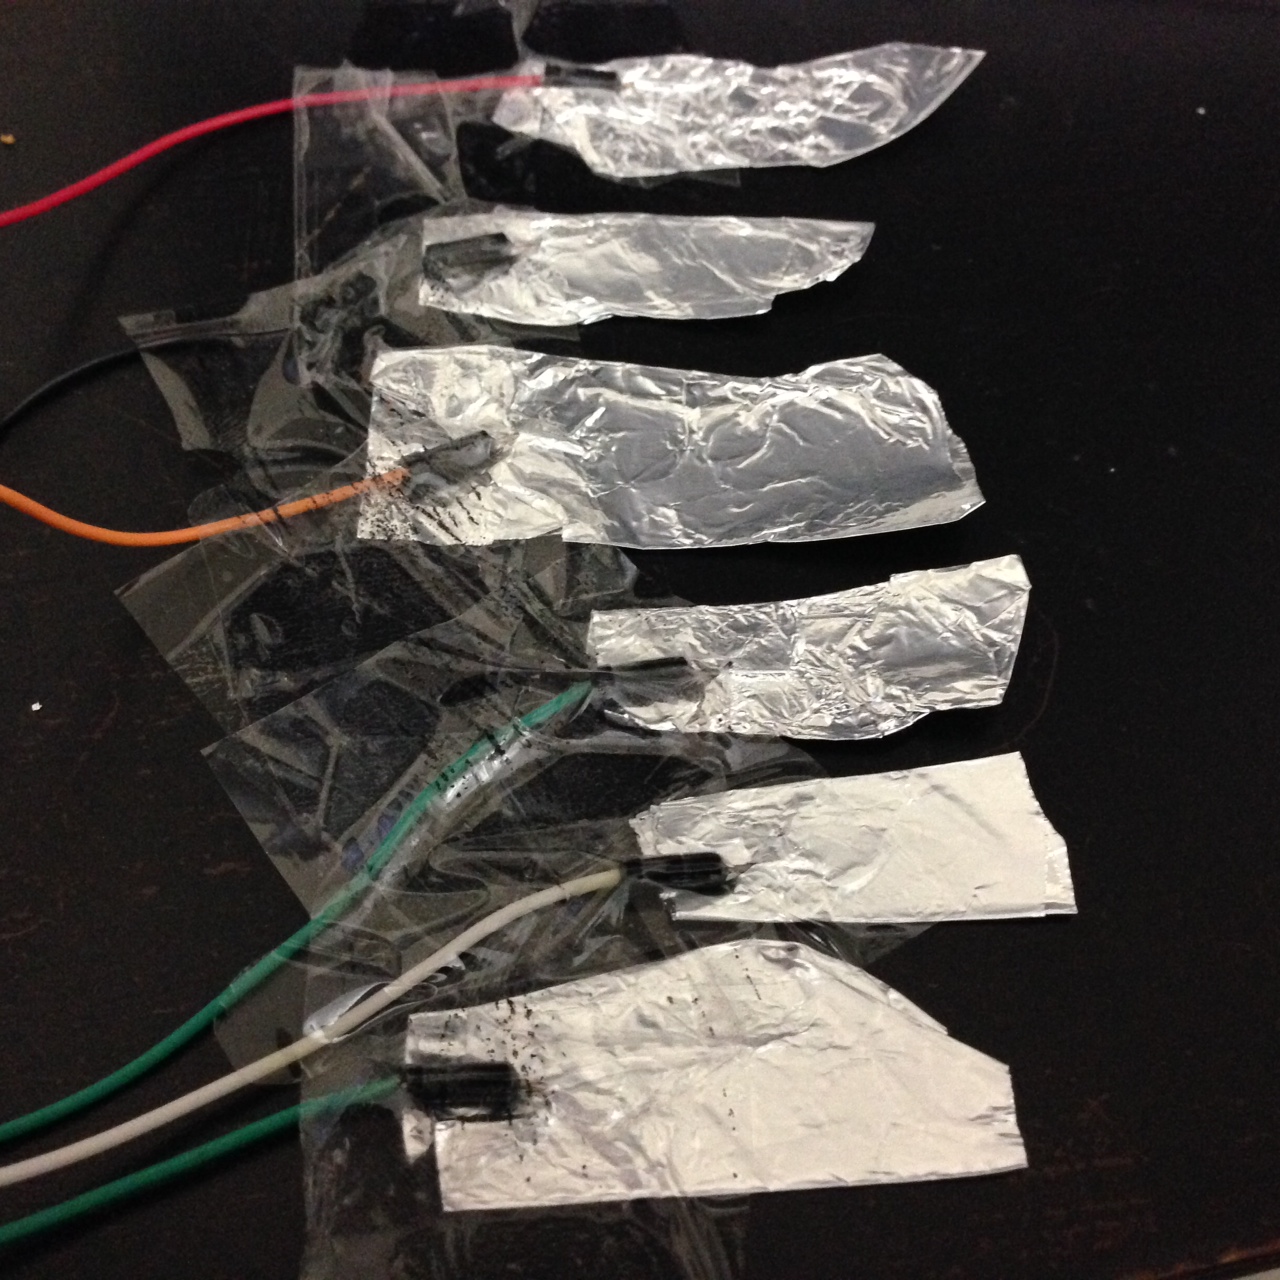
3) Aluminium Foil for touch board
4) Connecting Wires
Configure I2C
I2C is a very commonly used standard designed to allow one chip to talk to another. So, since the Raspberry Pi can talk I2C we can connect it to a variety of I2C capable chips and modules. Please follow anyone of the following links to configure I2C on your Raspberry pi.
I2C and Raspbian wheezy
Adafruit’s Raspberry Pi Lesson 4. GPIO Setup
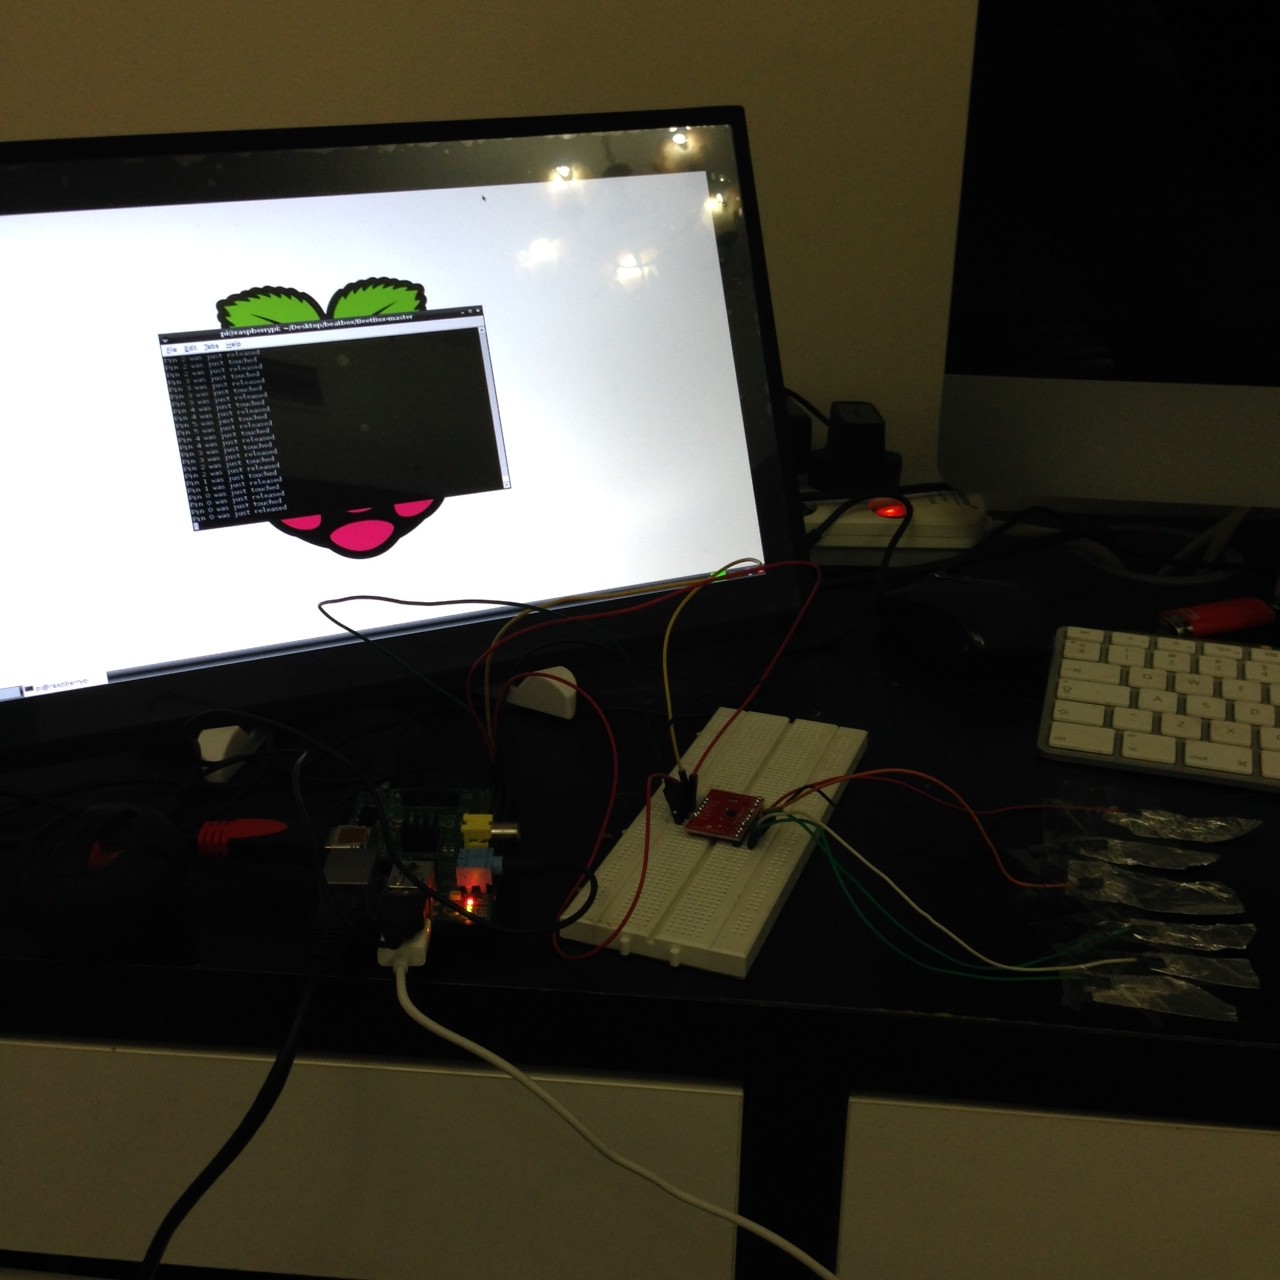
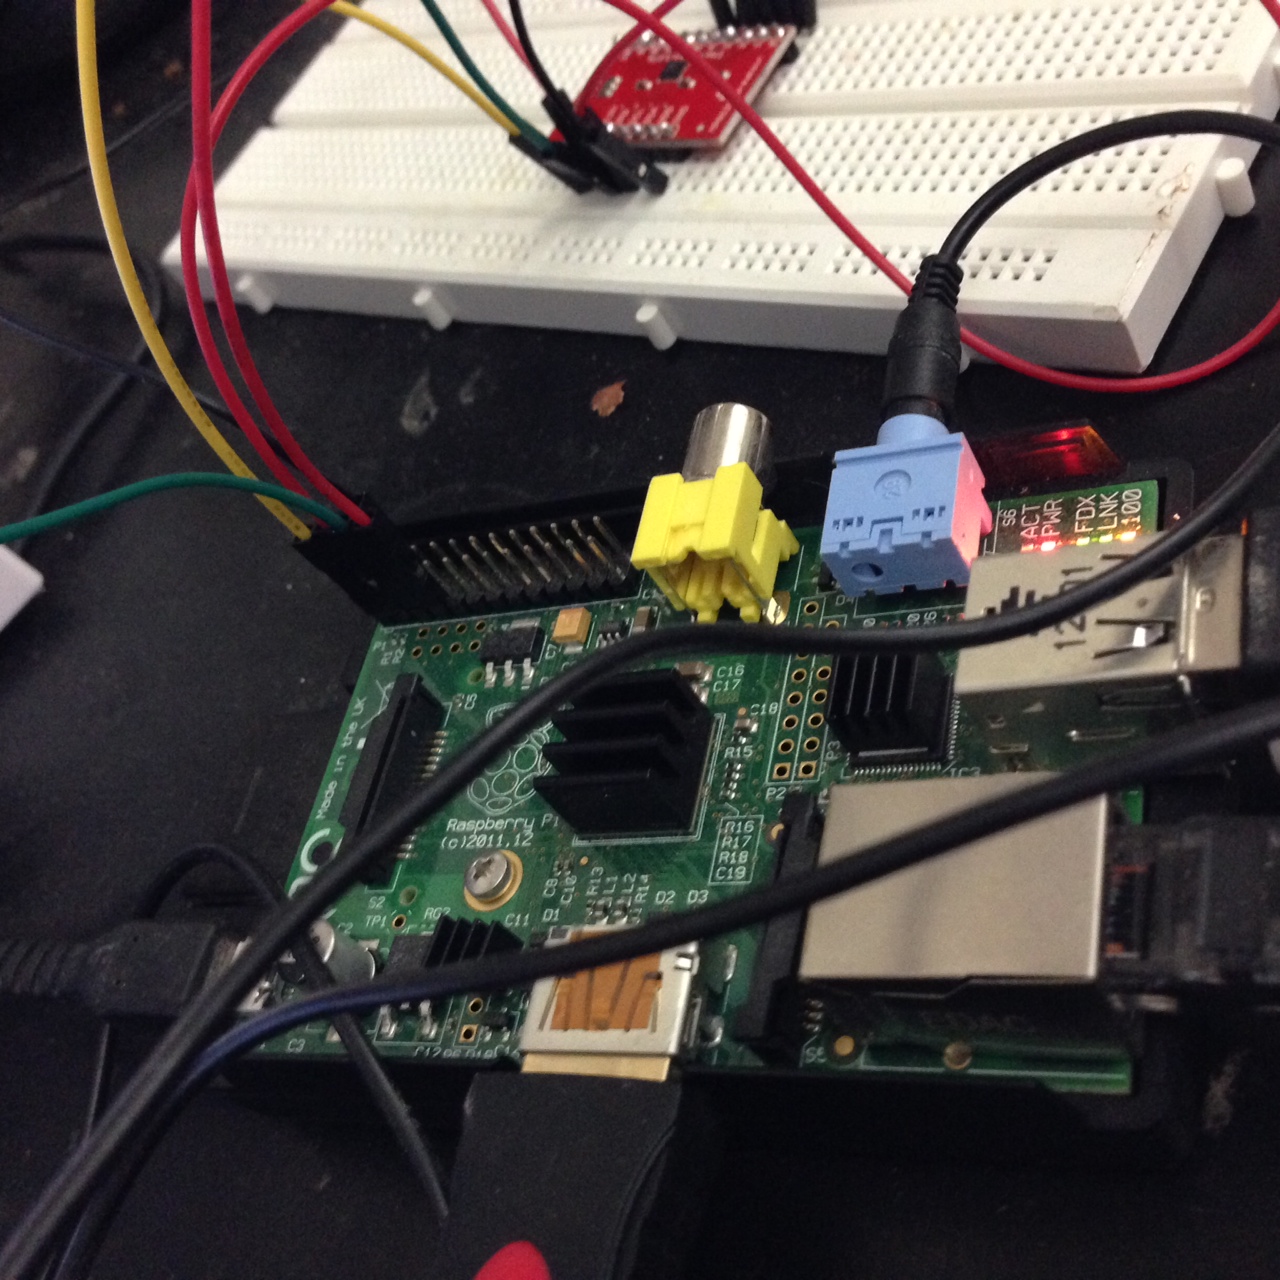
Connect the circuit

Can you detect the address of the MPR121 board ?
pi@raspberrypi ~ $ i2cdetect -y 1
     0  1  2  3  4  5  6  7  8  9  a  b  c  d  e  f
00:          -- -- -- -- -- -- -- -- -- -- -- -- --
10: -- -- -- -- -- -- -- -- -- -- -- -- -- -- -- --
20: -- -- -- -- -- -- -- -- -- -- -- -- -- -- -- --
30: -- -- -- -- -- -- -- -- -- -- -- -- -- -- -- --
40: -- -- -- -- -- -- -- -- -- -- -- -- -- -- -- --
50: -- -- -- -- -- -- -- -- -- -- 5a -- -- -- -- --
60: -- -- -- -- -- -- -- -- -- -- -- -- -- -- -- --
70: -- -- -- -- -- -- -- --
If you are not able to see 5a, try the command with i2cdetect -y 0. Still no luck! Google is your friend…
Download Code
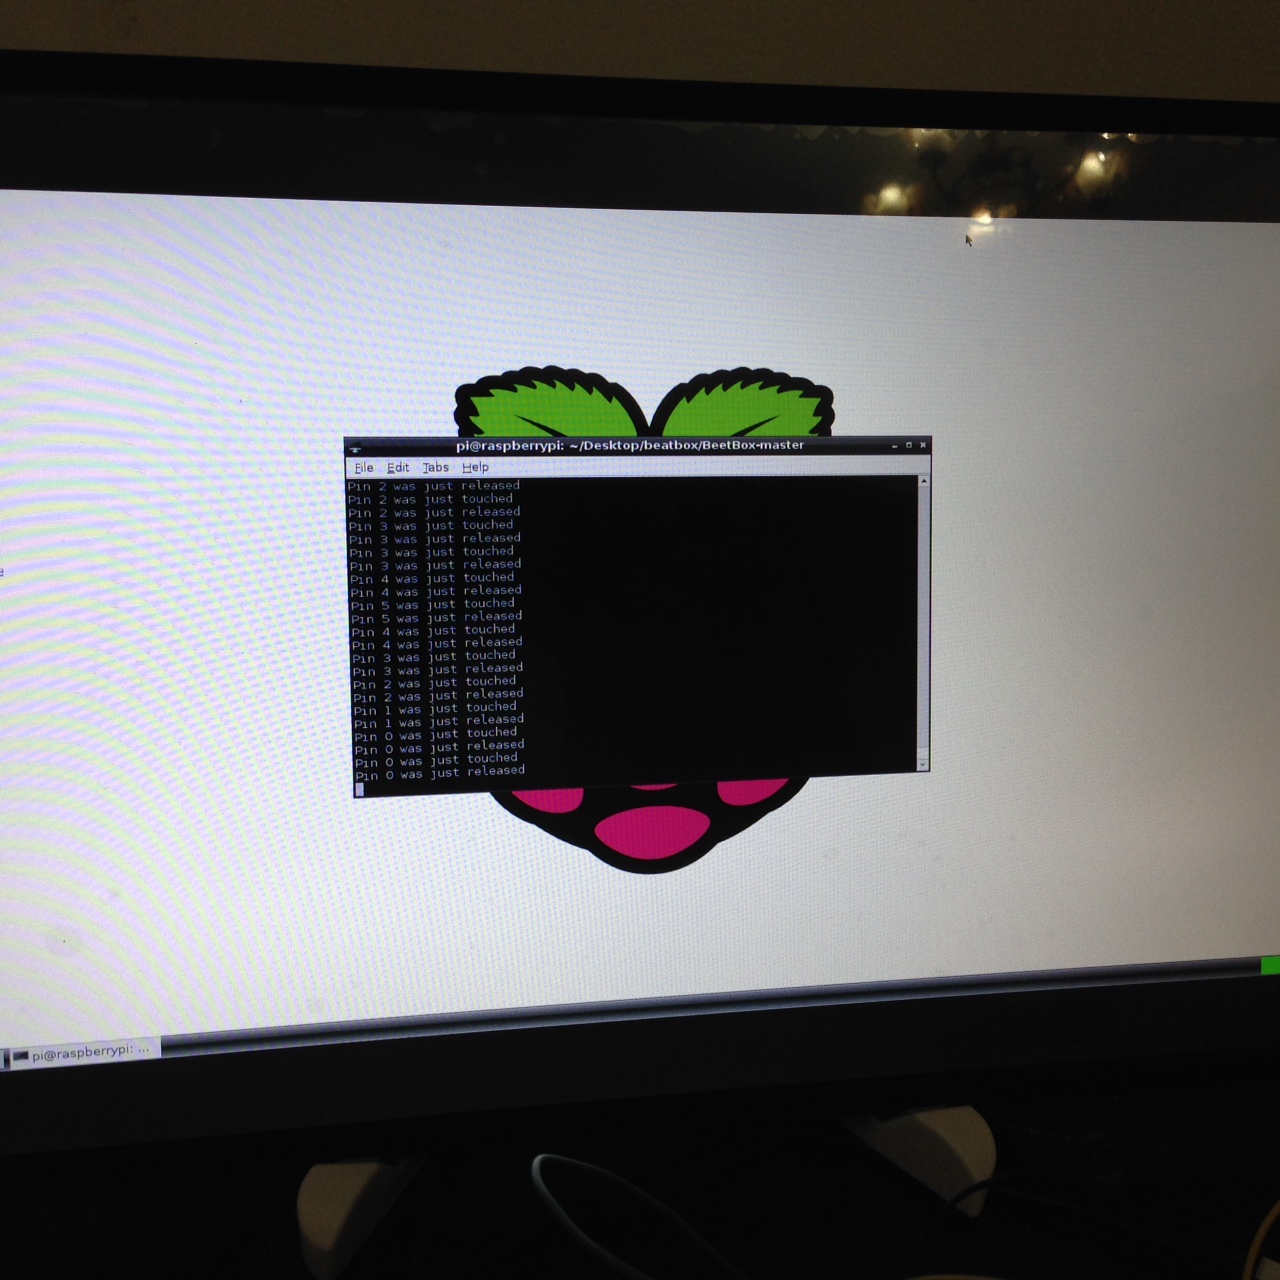
Thanks to Scott Garner has contributed the complete source code of the beetbox. Download the code from github and run the program.
$ curl -O -L https://github.com/scottgarner/BeetBox/archive/master.zip
$ unzip master.zip
$ cd BeetBox-master/
$ sudo python beetbox.py
You should be able to hear the sound when you touch the foil inputs. If you are not able to hear the sound you can refer to this article to play sound file from command prompt in Raspberry Pi.
Thanks to Bare Conductive for inspiring this project… 😉
Hi,
this might be a silly question, but is there any difference between Adafruit’s and SparkFun’s MPR121? I got the Adafruit one, was taking a look at few circuits and what seems to be different, is that with Adafruit ones they use resistors, which I can’t see in this circuit…
Sorry for digging this out, just very keen to try it, but I’m worrying I will just burn something 🙂
Thanks,
Sandra
If you are scared you can go for this one which has all build in for you and easy to use.
http://www.bareconductive.com/shop/touch-board/
[…] https://www.imthi.com/blog/electronics/capacitive-touch-drumkit-with-raspberry-pi-using-mrp121.php […]
[…] https://www.imthi.com/blog/electronics/capacitive-touch-drumkit-with-raspberry-pi-using-mrp121.php […]